
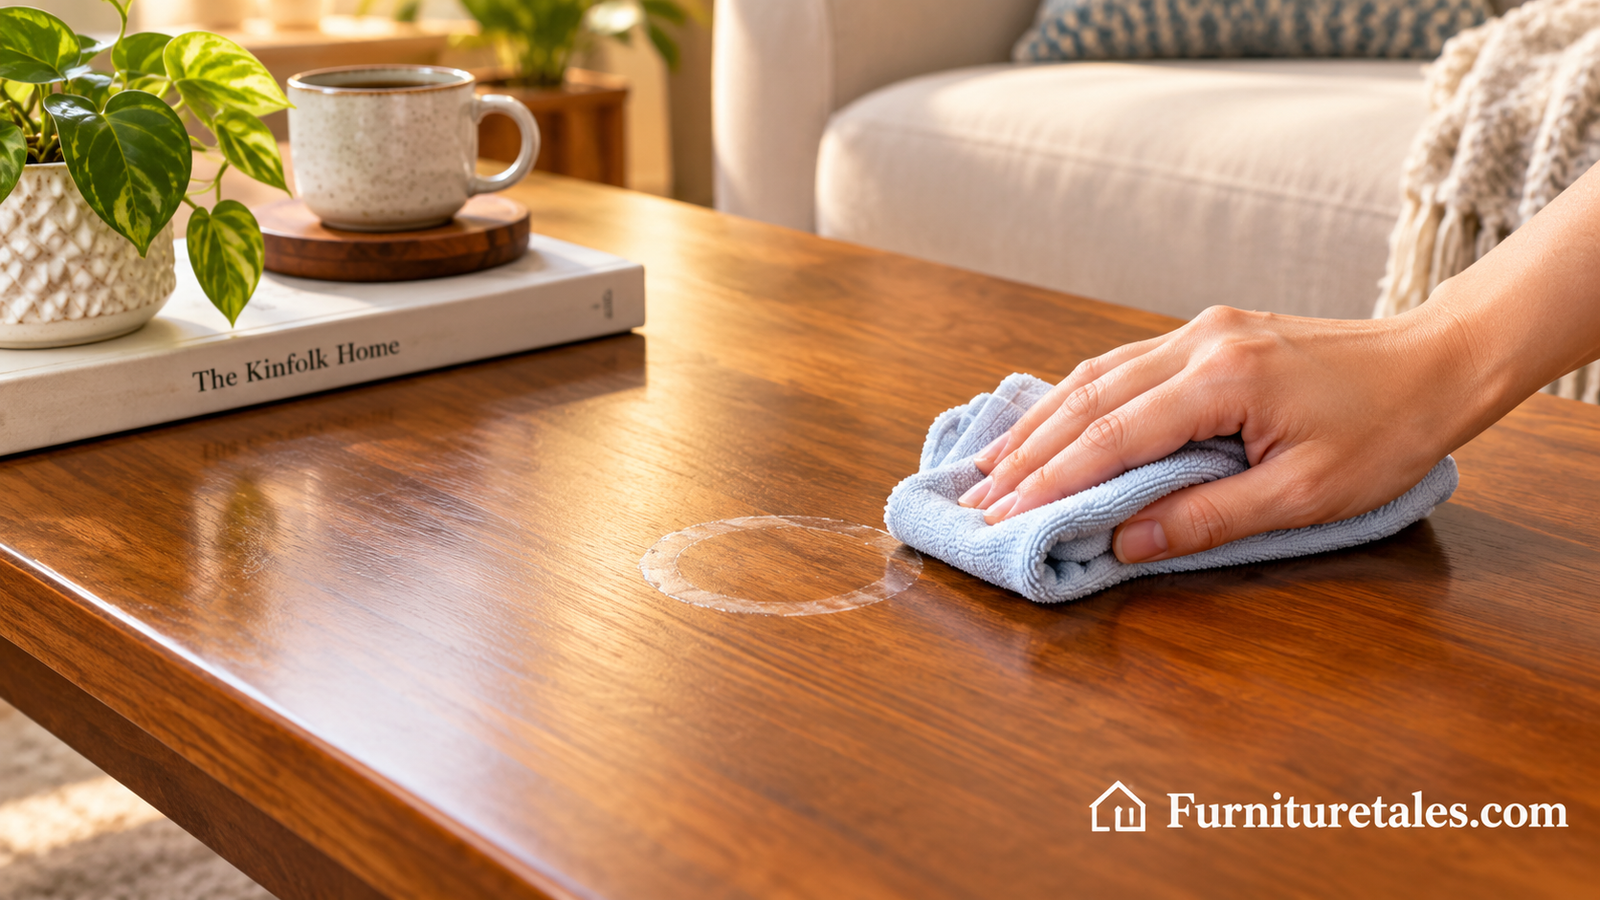
How to Remove Water Rings from Wood Furniture
That cloudy circle left by a sweating glass is almost never permanent. Here is how to read the damage, pick the gentlest fix that works, and bring the finish back without sanding down your favorite table.
Introduction
You pick up a glass, and there it is: a pale, cloudy ring on a table you love. Your stomach drops a little. Take a breath. In most homes, a water ring is one of the most fixable problems a wood surface can have, and you very likely own what you need to fix it already.
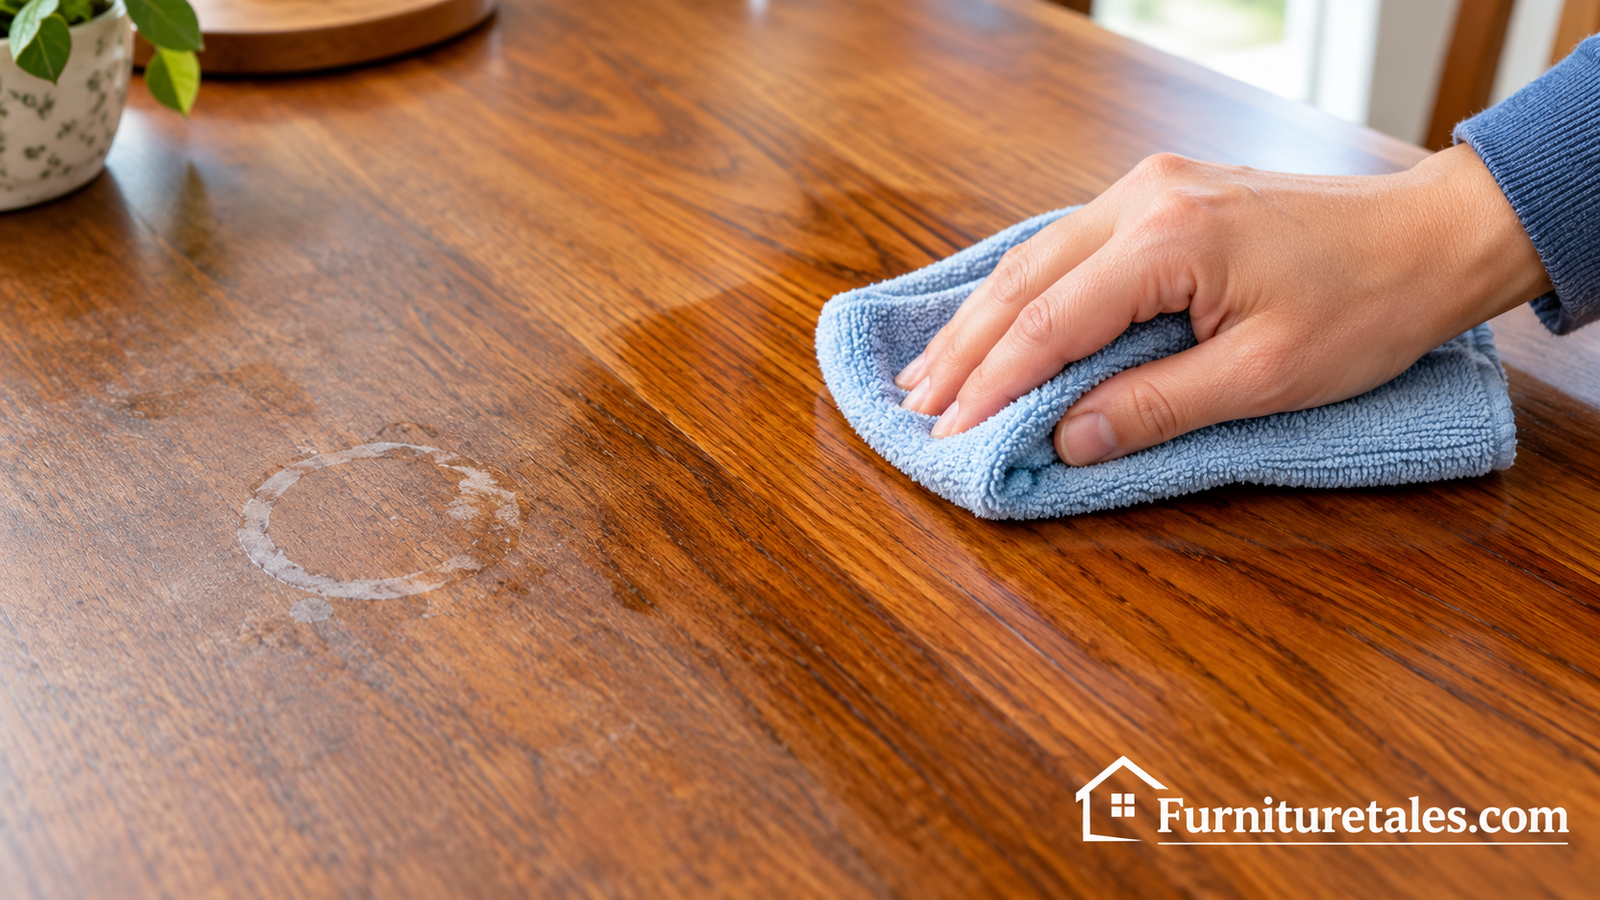
Water rings look scary because they seem like a stain, as if something has soaked into the wood. Often that is not what happened at all. The finish on top of the wood, the thin protective layer of lacquer, varnish, shellac or polyurethane, has trapped a tiny amount of moisture. That trapped moisture scatters light and shows up as a white haze. Remove the moisture, and the haze goes with it.
This guide walks you through the full process in the order a careful restorer would do it. You will learn how to tell a white ring from a dark one, why that difference matters more than anything else, and how to match the method to the damage. We cover heat, household pastes, wax with ultra-fine abrasives, and the heavier options for rings that have reached the wood itself. We also cover finishing touches and the habits that stop rings from coming back.
One rule runs through every method here: start with the gentlest option, test somewhere hidden, and only escalate if the mark refuses to budge. A ring that takes ten patient minutes to remove is far better than a “quick fix” that strips the finish around it. If you are ever unsure, stop and let the piece rest. Wood forgives patience much more readily than it forgives force.
Before you begin: if the piece is a valuable antique, a family heirloom, or veneered furniture with a thin top layer, read the mistakes section at the end first. A professional conservator is sometimes the smartest first call, and this guide will help you recognize those cases.
Stock up on a gentle wood-safe cleaner before you start.
Check Price on AmazonWhy Water Rings Form on Wood Furniture
To remove a water ring well, it helps to understand what you are looking at. Wood furniture is rarely bare wood. Almost every dining table, dresser, nightstand and coffee table in a modern home wears a clear coat. That coat might be lacquer, varnish, shellac, a wipe-on oil-and-varnish blend, or polyurethane. Its job is to block spills, resist wear and give the surface its sheen.
The finish is tough but not perfectly sealed. It contains microscopic pores and, over time, tiny cracks. When a cold glass sits on the surface, condensation forms on the outside of the glass and pools underneath it. A hot mug does something similar by driving warm moisture into the coating. Either way, a little water gets into the finish layer and cannot escape quickly, because the same coating that kept water out now keeps it in.
The role of moisture, heat and time
Three things decide how bad a ring becomes. First is how long the moisture sat there. A wet coaster-less glass overnight does far more harm than a quick splash. Second is temperature. Heat opens the finish slightly, letting moisture in faster, then trapping it as the surface cools. Third is the type and age of the finish. Older shellac and lacquer finishes are especially prone to white marks, while a modern polyurethane coat shrugs off most moisture unless it is worn or damaged.
Why the ring has a ring shape
The circular shape comes from the object that caused it. Condensation collects along the rim of a glass base, so the mark follows that outline. A hot dish may leave a larger cloud with a fuzzy edge instead. Plant pots, vases and wet towels leave their own telltale shapes. Recognizing the source helps you judge how deep the moisture likely went.
Cosmetic haze versus real damage
Here is the good news. A white ring is generally cosmetic and sits inside the finish. A dark ring or black stain is different: it means water or something dissolved in it has reached the raw wood, often through a worn or broken finish, and reacted with the wood fibers or with iron. That is real staining, and it needs a stronger approach. The next section shows you how to tell the two apart in about a minute.
If you have just brought home a secondhand piece and are finding rings, odors and other surprises together, our guide on how to get smell out of used furniture pairs nicely with this one.
Protect your finish from the next spill with a few good coasters.
Check Price on AmazonIdentify Whether You Have a White Ring or a Dark Ring
Every successful repair starts with an honest diagnosis. White rings and dark rings may look similar from across the room, but they live in different layers of the furniture and respond to completely different treatments. Spend a minute here and you will save yourself an hour later.
The quick look test
Look at the mark in good light, tilting your head so the light rakes across the surface. A white or grayish cloud that seems to float just below the sheen is almost certainly trapped moisture in the finish. A dark gray, brown or black ring that looks like it has soaked into the grain is a stain in the wood. Dark marks often have crisp edges and may leave the surrounding finish looking dull or cracked.
The fingertip test
Run a clean fingertip across the mark. If the surface feels smooth and continuous, the finish is likely intact and the problem is cosmetic. If it feels rough, raised, or slightly sticky, the finish has been damaged and the water may have gone deeper.
The wipe test
Dampen a soft cloth very lightly with water, wipe the mark once, and dry immediately. A white ring that stays the same is trapped inside the finish. A mark that darkens noticeably when wet and lightens a bit as it dries suggests the finish is thin or worn at that spot. Use as little water as possible, and never leave any sitting on the surface.
Know your finish
The kind of finish also matters. A simple test on an out-of-sight area: dab a cotton swab with a tiny amount of denatured alcohol. If the finish softens or turns tacky quickly, it is likely shellac. If it takes a stronger solvent such as lacquer thinner to soften, it is probably lacquer. If neither does anything, you are likely dealing with a cured varnish or polyurethane, which is the most water-resistant. This knowledge matters because shellac in particular reacts to alcohol and sometimes to ammonia, so you will want to avoid harsher products on it.
- Pale, hazy and smooth: start with the heat or paste methods.
- Dark, defined and soaked in: skip ahead to the dark ring section.
- Mixed (pale with a dark core): treat the white haze first, then address any dark center.
A small magnifier and a bright work light make diagnosis much easier.
Check Price on AmazonGather Supplies and Set Up Your Workspace
Water ring removal is not a gear-heavy job. Most of what you need lives in a kitchen drawer or hall closet. Pulling everything together before you begin keeps you from rushing mid-treatment, which is when mistakes happen.
Core supplies
- Several clean, soft, lint-free cotton cloths (old t-shirts work well)
- A hair dryer with low and medium heat settings
- A plain white cotton towel or pillowcase for the iron method
- Plain mayonnaise, white non-gel toothpaste, and baking soda for paste methods
- Furniture wax or a quality paste wax, plus a little mineral oil
- Ultra-fine steel wool (the finest grade, labeled 0000) or very fine abrasive pads
- Mild dish soap and a small bowl of water
- Cotton swabs for testing small areas
For stubborn or dark rings
- Oxalic acid wood bleach, with rubber gloves and eye protection
- Fine sandpaper in a few grits and a sanding block
- A matching finish product, such as wipe-on varnish or shellac, for touch-ups
Set up the space
Move the piece to a spot with good, angled light. Natural light from a window is ideal because it reveals how the ring changes as you work. Put a drop cloth or old sheet underneath so you do not mark the floor, and clear everything off the top of the furniture. Work on a stable surface and keep a trash bag handy for used cloths, especially any that touched solvents or bleach.
Do a patch test, always
Before you apply anything to the visible ring, test it on a hidden spot: the underside of a tabletop, the back of a leg, or the inside of a drawer front. Wait a few minutes, wipe it off, and look for dulling, softening or color change. This one habit prevents most restoration disasters.
Safety note: hair dryers and irons plus wood and wax are a combination that demands attention. Never leave heat unattended, keep flammable products away from heat sources, and ventilate the room when using any chemical product.
Grab a set of soft microfiber cloths for polishing and buffing.
Check Price on AmazonClean the Surface Before You Treat the Ring
It is tempting to jump straight to the fix, but a dirty surface can sabotage it. Skin oils, dust, old polish buildup and kitchen grease can sit on top of a ring and make it look worse than it is. Sometimes what appears to be a stubborn water ring is partly a film of old wax. Cleaning first gives you a true picture of the damage and keeps grit from scratching the finish while you rub.
A gentle cleaning routine
Mix a few drops of mild dish soap into a bowl of warm water. Dip a soft cloth, then wring it out until it is barely damp, not wet. Wipe the whole surface, not just the ring, moving with the grain. The grain is the pattern of lines running through the wood, and rubbing along it rather than across it avoids tiny scratches. Immediately follow with a second cloth, dry, to remove any lingering moisture. Remember that moisture is the cause of the problem, so you never want water sitting on the wood.
If the surface has heavy buildup, our guide on how to clean wood furniture covers deeper cleaning routines for different finishes. For large jobs or upholstered pieces nearby, a dedicated furniture cleaner machine can also speed up the broader cleanup, though you will not use one directly on the water ring itself.
What to avoid
- Soaking the cloth. Extra water works against you here.
- Ammonia-heavy glass cleaners, which can dull or damage many finishes.
- Silicone-based sprays right before repair, since they can interfere with refinishing and wax later.
- Abrasive cleaning powders, which scratch the surface.
Let it dry and look again
Give the surface a few minutes to dry fully, then examine the ring in the light again. Some faint rings fade a little during cleaning, especially if the haze was partly surface film. Take a quick photo now. A before picture helps you judge progress honestly, since your eyes get used to a mark after staring at it for half an hour.
A gentle wood-safe cleaner makes this step simple and safe.
Check Price on AmazonHeat Methods: Hair Dryer and Iron
Because a white ring is trapped moisture, the logical cure is to coax that moisture back out. Gentle heat does exactly that. It warms the finish, loosens its grip on the water, and lets the vapor escape. Heat is one of the safest first moves because it adds nothing to the surface. The catch is that too much heat can blister or soften certain finishes, so patience and low settings are the whole game.
Step 4: The hair dryer technique
Set a hair dryer to low or medium heat. Hold it several inches above the surface and move it constantly in slow circles over the ring. Never hold it still. After a minute or so, pause and feel the wood with the back of your hand; it should feel warm, not hot. Check the ring. If it has faded, keep going in short bursts. If it has not changed after a few minutes, stop and move to a different method.
Step 5: The iron and cotton cloth technique
If the hair dryer alone does not do it, step up carefully. Lay a clean, dry, plain white cotton towel or pillowcase over the ring. Set an iron to its lowest heat with the steam turned completely off. Press it lightly on the cloth for a few seconds, lift, and check. Never rest the iron on the cloth for long, and never place the iron directly on the wood. Repeat in short passes, checking often.
Go slowly: if the surface feels hot, smells scorched, or the finish looks wavy, stop immediately. Wax-based finishes and old shellac are most sensitive to heat.
Heat methods at a glance
Pros
- Adds nothing to the finish
- Uses items you already own
- Works well on fresh, light rings
- Easy to stop at any moment
Cons
- Risk of blistering if rushed
- Less effective on older, deeper rings
- Not suited to dark stains
- Needs constant attention
Once a ring fades with heat, let the wood cool completely before touching it, then buff gently and add a little wax to replace anything the warmth may have softened. We cover that last step in detail in the finishing section.
Need a gentle-heat tool? Browse travel-size hair dryers and low-heat irons.
Check Price on AmazonHousehold Pastes: Mayonnaise, Toothpaste and Baking Soda
If heat does not fully lift the ring, the next gentle tier is a paste you leave on the surface or rub in lightly. These remedies are popular because they come from the pantry and bathroom, and they work for understandable reasons. Mayonnaise contains oil that can help displace moisture in the finish. Plain white toothpaste and baking soda are very mild abrasives that polish a hazy finish ever so slightly. None of them is magic, but each can work on light rings.
Step 6: Apply, wait, rub with the grain
Choose one paste and use only that one. Dab a small amount onto a soft cloth and spread a thin layer over the ring. Let it sit for a period, anywhere from a few minutes to an hour for mayonnaise, shorter for toothpaste and baking soda. Then rub gently with the grain in small, even strokes. Wipe off every trace with a clean, barely damp cloth, dry the surface immediately, and inspect.
Which paste for which situation
| Paste | How it helps | Best for | Watch out for |
|---|---|---|---|
| Plain mayonnaise | Oils help displace trapped moisture | Light, fresh white rings on solid finishes | Leaves residue; clean off fully |
| White toothpaste (not gel) | Mild abrasive polishes the hazy layer | Faint cloudy marks | Whitening or gritty formulas can scratch |
| Baking soda and water | Gentle abrasive with a soft scrub | Slightly stubborn haze | Rub lightly; too much pressure dulls sheen |
| Baking soda and toothpaste | Slightly stronger polish | Rings that resisted a single paste | Test first on a hidden spot |
Swipe to see more →
Why gentle pressure matters
The biggest mistake with abrasive pastes is scrubbing as if you were cleaning a pan. A finish is a thin film, and it only takes a bit of overzealous rubbing to dull a circle around the ring, swapping one blemish for a bigger one. If the ring is moving but slowly, repeat the process rather than pressing harder. Several light attempts almost always beat one heavy one.
Pros
- Pantry-friendly and inexpensive
- Low risk when done lightly
- Good first step after heat
Cons
- Results vary with finish type
- Can leave residue or dull the sheen
- Not effective on dark stains
Keep a quality paste wax on hand to finish the job.
Check Price on AmazonWax and Ultra-Fine Abrasives for Stubborn White Rings
When heat and pastes are not enough, restorers turn to a technique that has been used for generations: gently rubbing the ring with ultra-fine steel wool and wax or oil as a lubricant. The idea is simple. The finest grade of steel wool, labeled 0000, is soft enough to burnish a finish rather than gouge it. The wax or oil carries away fine particles, prevents scratching, and leaves a nourishing film behind. Done carefully, it can erase rings that nothing else will touch.
Step 7: Rub with 0000 steel wool and wax
Put a small amount of furniture wax or mineral oil on a pad of 0000 steel wool. Rub the ring lightly, always with the grain, using short strokes and almost no pressure. Wipe away the residue frequently with a soft cloth so you can see what is happening. Stop as soon as the ring fades. The goal is to refresh the finish, not remove it. Keep the area of work slightly larger than the ring so the blending is seamless.
Never use coarse steel wool: anything coarser than 0000 will scratch a finish. Do not use it dry, and test in a hidden spot first. Fine steel wool can also leave tiny fibers that rust if they get damp, so wipe the area thoroughly when you finish.
Why wax matters here
Good furniture wax does two jobs at once: it lubricates the abrasive and it fills and protects the finish afterward. If you want to compare formulas, our roundup of the best furniture wax for wood is a helpful starting point. Choose a wax that suits your finish, because some leave a satin glow and others a higher gloss.
Fine scratches along the way
Occasionally, a rubbed area shows faint scratches or a slightly different sheen from the surroundings. This is usually fixable with a little wax and buffing, but if you notice real scratch marks or gouges, our guide to how to remove scratches from wood furniture shows you how to deal with them properly.
Who should skip this method
Avoid steel wool on veneer with a very thin top layer, on antiques with delicate shellac or on any piece where the finish already looks worn through. In those cases, stay with paste and wax methods or consult a professional.
Pros
- Very effective on stubborn white haze
- Blends the repair into surrounding finish
- Leaves a protective wax layer
Cons
- Easy to over-rub and dull the sheen
- Steel wool can shed fibers
- Needs a steady, light hand
Pick up ultra-fine 0000 steel wool for careful finish work.
Check Price on AmazonDark Rings: Bleaching and Refinishing When Water Reached the Wood
A dark ring is a different animal. It means water got through the finish and into the wood fibers, where it reacted with natural tannins or with iron from a nail, a can bottom or a plant pot. The result is a gray, brown or black stain that no amount of heat or wax will lift, because it is no longer in the finish. To remove it, you have to treat the wood itself. This takes more care, so work slowly and wear protection.
Step 8: Bleach the stain with oxalic acid
Oxalic acid, sold as a wood bleach at hardware stores, is the traditional answer for dark water and iron stains. First, you need to remove the finish from the stained spot so the bleach can reach the wood. Lightly sand just that area with fine paper, following the grain, until the bare wood shows. Wear gloves and eye protection, and follow the product directions exactly. Mix the crystals as instructed, brush a thin coat over the stain, and let it work. Check periodically; the stain should lighten as it dries.
After the stain lightens, neutralize and rinse according to the label, which typically involves wiping with a baking soda and water solution and then clean water, followed by thorough drying. Let the wood dry completely before moving on. The bleached area may look paler than the surrounding wood, which is normal and will be corrected in the next step.
Chemical safety: oxalic acid is toxic and an irritant. Work in a ventilated space, keep pets and children away, never mix chemicals, and dispose of leftover solution as directed on the label. If you are not comfortable with it, a professional can handle this step.
Step 9: Blend and refinish the repaired spot
With the stain gone and the wood dry, the area needs a new finish layer to match the surrounding surface. If the bleached spot is lighter than the rest, you can blend color with a matching wood stain or a tinted finish, testing on scrap or a hidden area first. Then apply a thin coat of finish that suits the piece. Wipe-on varnish and shellac are forgiving options for small repairs. Apply thin coats with the grain, let each dry completely, and lightly buff between coats if the product directions allow. Several thin coats look better than one thick one.
If the area has a small dent or gap after sanding, a product from our guide to the best wood filler for furniture repair can level it before you refinish. For a piece that needs a full recoat, our guide on how to paint furniture and our pick of the best paint for furniture are useful if you decide a painted look is the better solution than chasing a perfect match.
Pros
- Actually removes the stain from the wood
- A full, lasting repair
- Lets you correct color and sheen
Cons
- Needs sanding and chemicals
- Color and sheen matching takes practice
- Not ideal for thin veneer or valuable antiques
Find wood bleach and wipe-on finish for deeper stain repairs.
Check Price on AmazonChoosing the Right Method for Your Ring
With so many options, the question becomes which one to try first. The answer depends on two things: what the ring looks like and what the finish is. A simple rule keeps you safe: begin with the lowest-risk method that could plausibly work, and only move to a stronger one when the gentler approach has clearly failed. Think of it as a ladder, and climb only as high as you need.
The escalation ladder
- Rung one: gentle cleaning and a hair dryer on low or medium heat.
- Rung two: the cotton cloth and low-heat iron method.
- Rung three: a mayonnaise, toothpaste or baking soda paste.
- Rung four: 0000 steel wool with wax or oil, with very light pressure.
- Rung five: sanding, bleaching and refinishing the spot, or a professional repair.
Method comparison
| Method | Best for | Effort | Risk to finish | Skill needed |
|---|---|---|---|---|
| Hair dryer | Fresh, light white rings | Low | Low if kept moving | Beginner |
| Iron and cloth | Rings that resist the dryer | Low | Moderate if too hot | Beginner |
| Mayonnaise | Light white haze | Low | Low | Beginner |
| Toothpaste or baking soda | Faint, cloudy marks | Medium | Low to moderate | Beginner |
| Steel wool and wax | Stubborn white rings | Medium | Moderate | Intermediate |
| Bleach and refinish | Dark rings in the wood | High | Higher; changes the spot | Intermediate to advanced |
Swipe to see more →
Match the method to the finish
Finish type should influence your starting point. Shellac and old lacquer can be sensitive to heat and to alcohol, so lean on the lightest approaches and avoid hot irons if the surface seems delicate. Modern polyurethane is tougher and tolerates more, but can show haze if rubbed too hard. If you honestly cannot tell the finish, assume it is the more delicate kind and test thoroughly.
Match the method to the piece
Think about the value of the furniture too. A thrift-store side table is a safe place to experiment, but a signed antique or a veneered dresser handed down through the family deserves a more conservative path. When in doubt, a conservator can often fix a ring in less time than you would spend worrying about it.
Build a small repair kit with wax, soft cloths and fine abrasives.
Check Price on AmazonRestoring the Sheen After the Ring Is Gone
Once the ring has disappeared, you are not quite finished. Whatever method you used probably disturbed the finish slightly, and the spot may look a little duller or different from the rest of the surface. Finishing touches pull everything into harmony so the repair is invisible rather than merely less obvious.
Apply wax or polish thinly
Apply a thin layer of furniture wax or a suitable polish over and slightly beyond the treated area. Let it haze according to the product directions, then buff with a clean soft cloth, moving with the grain. A thin coat buffed well looks far better than a thick coat that smears. If you are comparing products, our guide to the best furniture polish can help you choose something that fits your finish and your preferred sheen.
Wax versus polish: a quick distinction
Wax sits on top of the finish and gives a soft, protective glow that you can refresh over time. Polish is usually a thinner liquid or cream that cleans lightly and adds shine, and some contain silicone or oils that you may want to avoid on pieces you plan to refinish later. Neither replaces the finish itself, but both help hide small differences in sheen and add a little water resistance.
Let it cure
Resist the urge to put a drink back on the spot straight away. Waxes and finishes need time to settle and harden. Treat the area gently for a day or two, with no hot or wet items, and let the surface fully recover before returning to normal use.
Compare in different light
Check your work in morning light, evening light and under a lamp. Water ring repairs that look perfect in one light sometimes show a faint halo in another. If you spot an uneven patch, a bit more buffing or an extra thin coat of wax usually evens it out.
Find a furniture polish that matches your finish and sheen.
Check Price on AmazonPreventing New Water Rings for Good
After all that effort, you want the repair to last. Fortunately, preventing water rings is much easier than removing them. It mostly comes down to a few small habits and a couple of inexpensive products. The goal is simple: keep moisture and heat from sitting directly on the finish.
Use coasters, trivets and placemats
The classic solution still works best. Put a coaster under every glass and a trivet or placemat under every hot dish. Choose coasters with a soft or cork backing so they do not scratch the finish and absorb condensation instead of passing it through. Keep a stack within reach of the places where people actually sit, since nobody walks across a room to fetch one.
Wipe spills right away
Water that sits is water that soaks in. Wipe wet spots right away, and dry the area rather than leaving it to evaporate. Condensation from pitchers and ice buckets, plant saucers and wet towels all count as spills waiting to happen.
Maintain the finish
A well-maintained finish resists moisture much better. Regular gentle dusting, occasional waxing and prompt repair of worn spots keep the protective layer healthy. Sunlight can also degrade finishes and make them more vulnerable, so our guide on how to protect furniture from sun damage is a good companion read.
Control humidity
Very humid rooms add stress to finishes and make rings more likely. Good ventilation, a dehumidifier in damp spaces and avoiding putting wood pieces beside open windows or steamy bathrooms all help.
Prevention options compared
| Option | Protects against | Pros | Cons |
|---|---|---|---|
| Cork or felt-backed coasters | Condensation from cold drinks | Affordable, absorbent, gentle | Need to be used consistently |
| Trivets and heat-safe mats | Hot pots, mugs and plates | Handle high heat | Take up space |
| Table runners and placemats | Spills and everyday wear | Add style to the table | Must stay dry and clean |
| Regular waxing | Light moisture and wear | Easy and renewable | Not a barrier against standing water |
| Tabletop glass or protector | Heavy daily use | Strong protection | Can hide the wood and trap moisture if not fitted well |
Swipe to see more →
Pros of prevention
- Cheaper than any repair
- Keeps the original finish intact
- Builds a habit the whole household can share
Cons of prevention
- Needs consistency from everyone
- Guests may forget
- Some options change the look of the table
Add coasters and trivets so rings never have a chance to form.
Check Price on AmazonCommon Mistakes and When to Call a Professional
Most water ring disasters share the same root cause: doing too much, too fast. A ring that could have been solved in ten calm minutes turns into a repair project because someone grabbed a harsh product or scrubbed with too much force. Knowing the common traps helps you avoid them.
Mistakes to avoid
- Skipping the diagnosis. Treating a dark stain with heat or a white ring with bleach wastes time and risks damage.
- Skipping the patch test. A hidden-spot test costs two minutes and can save the whole surface.
- Using too much heat. Hot irons and dryers held in one spot can blister the finish.
- Rubbing across the grain. Cross-grain scratches show clearly and are harder to repair.
- Using the wrong abrasive. Coarse steel wool or rough sandpaper turns a small blemish into a large one.
- Over-wetting the wood. More water makes the problem worse, not better.
- Mixing chemicals. Never combine cleaners or bleaches, and always follow product labels.
- Rushing the cure. Putting items back on a fresh repair invites a new ring.
Signs it is time for a professional
Some situations are better handled by a trained restorer. Consider calling one if the piece is a valuable antique, if it has thin or delicate veneer, if the ring is large or sits across a prominent surface, if the finish is cracked or peeling in a wide area, or if your attempts have made the spot look worse. A professional can often blend a repair into the surrounding finish in a way that is hard to achieve at home, and the cost is usually far less than replacing the piece.
A word on realistic expectations
A perfect result is common with light white rings and less common with deep dark stains. Sometimes the honest outcome is a ring that is 90 percent better and barely noticeable in normal light. That is a real win. If a faint shadow remains, a rug, a lamp, a plant stand on a protective tray or a decorative runner can turn the spot into a design feature instead of a flaw.
Rule of thumb: if you feel the urge to press harder, stop and switch to a gentler tool, a different method or a professional. Force is almost never the answer with wood finishes.
Protect your repaired surface with a stylish table runner.
Check Price on AmazonFrequently Asked Questions About Removing Water Rings
What is the fastest way to remove a water ring from wood?
For a fresh, white ring, the quickest safe approach is gentle heat. Run a hair dryer on low or medium heat in slow circles a few inches above the mark, checking every minute or so. Many light rings fade in just a few minutes because the trapped moisture evaporates. If that does not work, move to a cotton cloth and low-heat iron, then a paste or wax method.
Does mayonnaise really remove water rings?
It can help on light white rings. The oil in mayonnaise may help displace moisture trapped in the finish, and the mild texture lets you rub gently. It is not a guaranteed fix and works best on fresh marks. Use plain mayonnaise, leave a thin layer for a while, wipe it off completely, and polish afterward. Test on a hidden spot first.
Does toothpaste work on water rings?
Plain white, non-gel toothpaste acts as a very mild abrasive and can polish away a faint hazy ring. Avoid whitening, gritty or gel formulas. Rub lightly with the grain, wipe clean and dry. If the ring does not budge after a couple of light attempts, stop rather than pressing harder.
Why is my water ring white instead of dark?
A white ring means moisture is trapped within the finish layer, not in the wood itself. The finish scatters light where the moisture sits, which makes it look cloudy. A dark ring signals that water has reached the wood and stained it, which usually means the finish was worn or damaged at that spot.
How do I remove a dark water ring from wood?
Dark rings generally require treating the wood. That means lightly sanding through the finish at the stain, applying oxalic acid wood bleach according to the label, neutralizing and rinsing, letting the wood dry, and then refinishing the spot. Wear gloves and eye protection and work in a ventilated area. For valuable or delicate pieces, consider a professional.
Can I use an iron on a water ring?
Yes, carefully. Place a clean, dry cotton cloth over the ring, set the iron to its lowest heat with no steam, and press for just a few seconds at a time. Never place the iron directly on the wood, and stop if the finish feels hot or looks wavy. Delicate shellac and wax finishes are the most heat-sensitive.
Is it safe to use steel wool on wood furniture?
Only the finest grade, labeled 0000, and only with a lubricant like wax or oil and very light pressure. Coarser steel wool will scratch. Always rub with the grain and wipe away residue so no fibers remain. Avoid it on thin veneer and delicate antique finishes.
Will baking soda damage my furniture finish?
Baking soda is a mild abrasive, so it can dull a finish if you rub too hard or too long. Mixed into a thin paste and applied with light pressure, it is generally gentle enough for many finishes. Always test in an inconspicuous spot and avoid it on very delicate or high-gloss surfaces.
How can I tell what kind of finish my table has?
Test in a hidden spot with a cotton swab and a little denatured alcohol. If the finish softens quickly, it is probably shellac. If it needs a stronger solvent, it may be lacquer. If neither affects it, it is likely a cured varnish or polyurethane. Knowing this helps you pick safe methods, since shellac and old lacquer are more sensitive to heat and solvents.
Can water rings come back after I remove them?
The same spot is not especially likely to ring again unless it is exposed to moisture, but a repaired finish can be a bit more vulnerable until it cures fully. Protect it for a day or two, add a thin coat of wax, and use coasters from then on. If a ring returns repeatedly in the same place, the finish there may be thin or damaged and may need a proper recoat.
How long should I wait before using the table after a repair?
If you only used heat or a light buff, a short rest is enough. If you applied wax, wait for it to harden and buff it off. If you sanded and refinished a spot, follow the finish manufacturer’s curing time, which can be longer than the surface feels dry. Keep drinks and hot dishes away until the finish is fully cured.
When should I give up and call a professional?
Call a restorer if the piece is a valuable antique, has delicate veneer, shows widespread cracking or peeling, or if the ring is large and highly visible. Also consider help if your first attempts made the spot look worse. A professional can often match and blend a finish more seamlessly than a home repair.
What is the best way to prevent water rings on wood furniture?
Use coasters under cold drinks and trivets under hot dishes, wipe spills right away, keep the finish waxed or otherwise maintained, and avoid placing wet items directly on the surface. Controlling humidity and limiting sun exposure also help the finish last longer.
Keep coasters, wax and soft cloths handy for everyday protection.
Check Price on AmazonFinal Thoughts: Be Patient, Start Gentle, and Protect What You Fix
A water ring can feel like a small disaster, but it is usually one of the most forgiving problems a wood piece can have. The key is reading the mark correctly. White rings live in the finish and respond to heat, light pastes and carefully lubricated polishing. Dark rings live in the wood and call for bleaching and refinishing. Once you know which one you have, the path forward is clear.
Work slowly, test in hidden spots, keep your pressure light and move up the ladder of methods only when you need to. Finish with a thin coat of wax or polish, give the surface time to settle, and put a few coasters where people actually put their glasses. Do that, and the table you love will keep its warmth and character for years.
Ready to get started? Gather a few simple supplies and give that ring a calm, careful treatment today.
Get everything you need for water ring repair and prevention.
Check Price on Amazon