
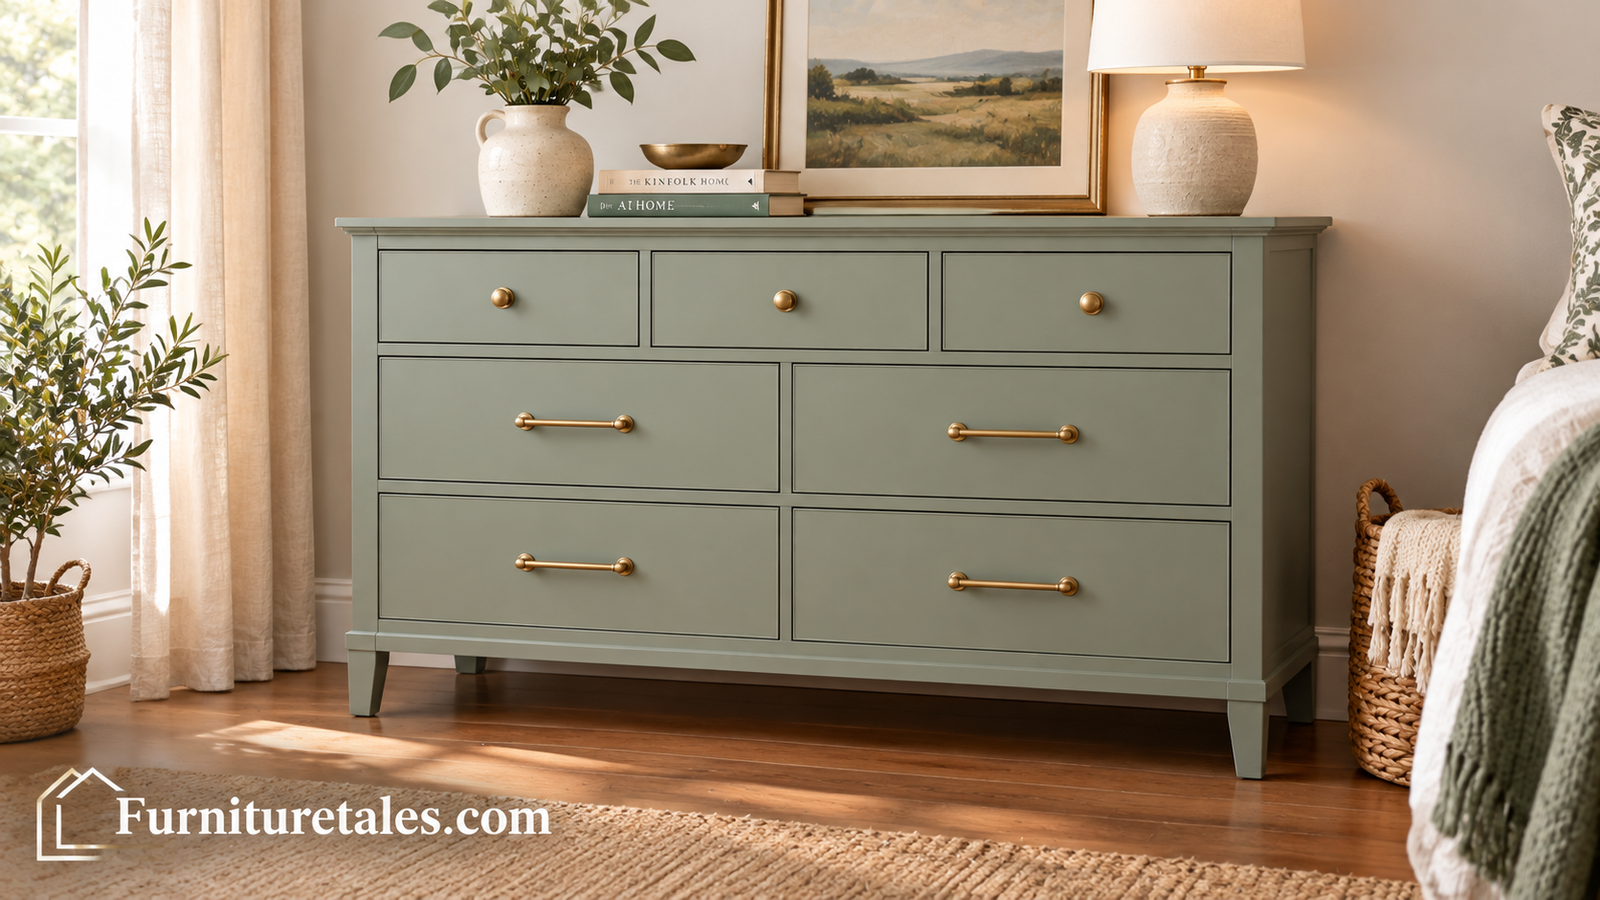
How to Paint Furniture: A Complete Step-by-Step Guide for a Smooth, Lasting Finish
From tired thrift-store find to a piece you will actually show off: the prep, the paint, and the protective finish explained in plain language.
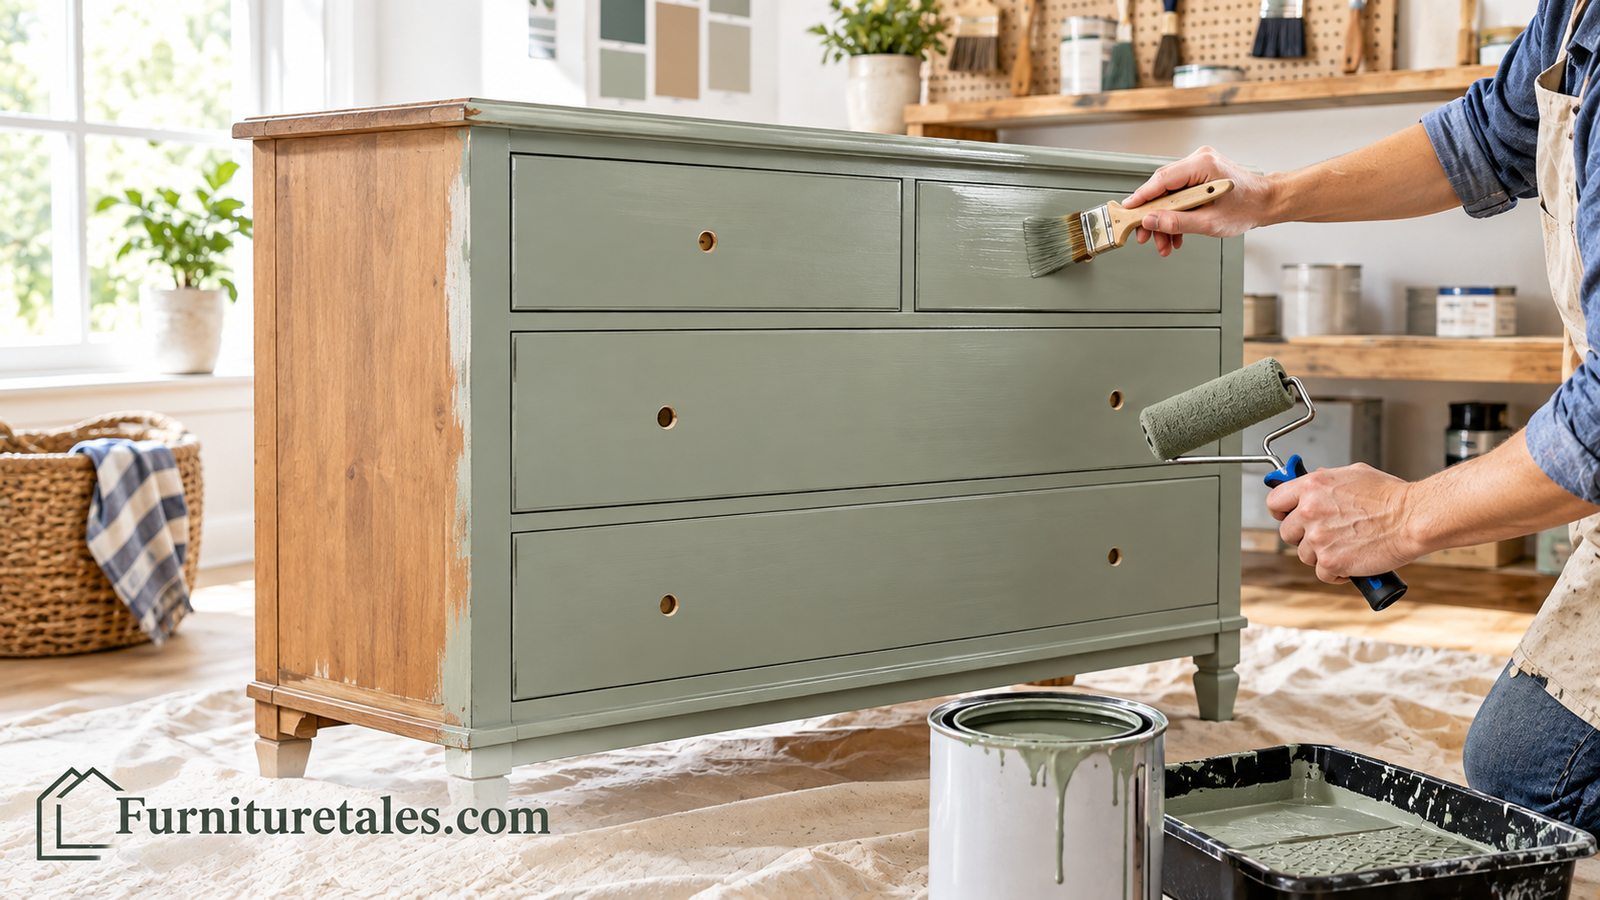
There is a particular kind of satisfaction that comes from taking a battered dresser, a wobbly side table, or a dated oak cabinet and turning it into something that looks like it came from a boutique. Painting furniture is one of the most affordable ways to change a room, and it is a skill almost anyone can learn in a single weekend. You do not need a workshop, an art degree, or a huge budget. You need the right order of operations and a willingness to slow down during the boring parts.
The honest truth is that about eighty percent of a great paint job happens before you open the paint can. Cleaning, sanding, priming, and choosing the correct product decide whether your finish survives daily life or chips the first time someone sets down a mug. In this guide, we walk through every stage in the order you should do it, with diagrams for each major step, material lists, comparison tables, and the little tricks that experienced refinishers use without thinking about it.
Whether you are working with solid wood, veneer, laminate, or a flat-pack piece, the process below will carry you from bare, scuffed surface to a durable, even finish. Grab a cup of coffee and let us get started.
1. Why Paint Furniture At All?
Before you commit a weekend to a project, it helps to know what you are getting back. New furniture has become expensive, and much of what sits in showrooms is made from particleboard and thin veneer that will not last a decade. Older pieces, on the other hand, are often built from solid hardwood with real dovetail joints. They are heavy, sturdy, and usually available for next to nothing at estate sales, online marketplaces, and curbside pickups. Their only problem is that the finish is dated, damaged, or simply not to your taste.
Paint solves all three problems at once. A single quart can cover a nightstand, a coffee table, and a set of chairs, which makes it far cheaper than replacing any of those items. It also lets you match a piece to your room exactly. If you have ever searched for a dresser in a very specific shade of dusty blue and come up empty, painting is how you create it yourself. And because you are the one making the decisions, you can choose a finish that suits your lifestyle, whether that is a wipeable satin for a kid’s desk or a velvety matte for a bedroom accent.
When painting is the right call
Painting makes the most sense when the structure of the piece is sound but the surface is worn. Scratched tabletops, water rings, faded stain, mismatched sets, and dated orange-toned wood are all excellent candidates. It also works well for hiding repairs. If you have filled a gouge or glued a loose joint, paint will make those fixes disappear in a way that clear stain never could.
When you might want to think twice
Not every piece should be painted. A true antique with original finish and documented provenance can lose significant value once painted over, so it is worth getting an appraisal if you suspect a piece is valuable. Likewise, if a piece has a stunning natural grain and only minor wear, a gentle cleaning and a fresh coat of wax may be a better choice. Our guide to how to clean wood furniture is a great starting point if you decide to keep the original look.
What a typical project costs and how long it takes
Most people are pleasantly surprised by how little a painted piece costs. A quart of quality paint, a small can of primer, a pack of sandpaper, a couple of brushes, and a topcoat usually add up to a fraction of the price of a comparable new item. The real investment is time, not money. Plan on a weekend for a small table or nightstand and a full long weekend for a large dresser, since drying and curing happen mostly while you are doing something else. Many painters work in short sessions over several evenings, which keeps the project relaxed and gives each layer the drying time it deserves.
| Project Size | Examples | Active Work Time | Paint Needed |
|---|---|---|---|
| Small | Stool, nightstand, side table | 3 to 5 hours | About a pint |
| Medium | Chest of drawers, desk, bookcase | 6 to 10 hours | About a quart |
| Large | Large dresser, hutch, dining table with chairs | 12 to 20 hours | One to two quarts |
Benefits of Painting
- Very low cost compared to buying new
- Unlimited color choices
- Hides stains, dents, and repairs
- Extends the life of solid pieces
- Highly customizable with hardware swaps
Things to Consider
- Prep work takes real time
- Poor prep leads to chipping
- Hard to reverse once done
- Not ideal for valuable antiques
- Needs several days to fully cure
Starting your first project? Browse a few beginner-friendly furniture paint kits.
Shop Furniture Paint Kits2. Tools and Materials You Need
Nothing derails a painting project faster than discovering halfway through that you are missing sandpaper or a decent brush. Gather everything before you start. The list below covers a typical project such as a dresser or console table, and you can scale it up or down depending on the size of the piece.
The essential kit
- Screwdrivers and a drill: For removing hardware, drawers, and doors.
- Degreasing cleaner: A mild degreaser or a TSP substitute removes years of cooking oil, hand oils, and furniture polish residue.
- Sandpaper in multiple grits: 120 grit for scuffing, 180 to 220 for smoothing between coats.
- Sanding block or orbital sander: A block gives you control in corners while a sander saves your arms on big surfaces.
- Wood filler: For dents, gouges, and old hardware holes you do not plan to reuse.
- Putty knife: To press filler into damage and scrape it flush.
- Tack cloth or microfiber rags: To lift every speck of dust before painting.
- Primer: A bonding or stain-blocking primer, depending on your surface.
- Paint: Selected for the look and durability you need (more on this in the next section).
- Brushes and mini foam rollers: A quality angled brush for details and a high-density foam roller for flat areas.
- Topcoat: Water-based polyurethane, wax, or a hardwearing furniture sealer.
- Painter’s tape and drop cloth: To protect floors and any areas you want to keep unpainted.
- Protective gear: A dust mask, gloves, and safety glasses.
Nice-to-have extras
If you plan to paint more than one piece, a few extras make life easier. Painter’s pyramids or small wood blocks lift the piece off your work surface so the bottom edges do not stick. A paint tray liner makes cleanup faster. A small handheld vacuum or shop vacuum picks up sanding dust better than any rag. Finally, a headlamp or portable work light held at a low angle reveals brush marks, drips, and rough patches that overhead lighting hides.
Brush and tool care between sessions
Good tools last for many projects if you look after them. When you pause for a break of an hour or two, wrap your brush or roller tightly in plastic wrap or a zip bag so it stays wet without hardening. At the end of the day, wash water-based paint out thoroughly with warm water and a little mild soap, working the bristles until the water runs clear, then reshape the brush and hang it to dry. Never leave brushes standing on their bristles, which bends them permanently and leaves streaky strokes in your next finish. Foam rollers can be rinsed and reused for the same color, though most painters replace them on a new project.
Setting up for safety and comfort
Comfort matters more than most beginners realize, because a project that feels miserable tends to get rushed. Work at a height that keeps your back straight, ideally by placing the piece on sturdy sawhorses or a low table. Wear a well-fitted dust mask while sanding, gloves while cleaning and painting, and safety glasses whenever you are sanding overhead or using chemicals. Keep rags that were used with oil-based products spread flat to dry outdoors, since they can generate heat as they cure. Keep a small fire extinguisher and good airflow nearby if you ever work with solvent-based products, and always store leftover paint and cleaners well away from children and pets.
Stock up on sandpaper, foam rollers, and brushes in one go.
Shop Painting Supplies3. Choosing the Right Paint and Finish
The paint aisle can be overwhelming. Chalk paint, milk paint, latex, enamel, mineral paint, and spray options all promise miracle results. The truth is that each one works well when matched to the right project and the right level of effort. Your decision should come down to three things: how much prep you want to do, how much wear the piece will get, and the look you are after.
| Paint Type | Best For | Prep Needed | Durability | Look |
|---|---|---|---|---|
| Chalk-style paint | Vintage and distressed looks | Light (clean and scuff) | Moderate; needs a sealer | Matte, velvety |
| Water-based acrylic or latex | All-purpose projects | Moderate (sand and prime) | Good | Matte to satin |
| Enamel (water-based) | High-use surfaces such as tables and desks | Moderate to thorough | Excellent | Satin to gloss |
| Mineral paint | Hard-to-adhere surfaces | Light | Very good | Flat to low sheen |
| Milk paint | Authentic antique style | Varies; bonding agent often needed | Moderate | Soft, variable |
| Spray paint | Hardware, metal, and chairs with spindles | Moderate | Good with sealer | Smooth, factory-like |
Understanding sheen
Sheen affects both appearance and cleanability. Matte hides flaws well and looks soft and modern, but it marks more easily and is harder to wipe. Satin strikes a balance, with a gentle glow and decent wipe-ability that suits most furniture. Semi-gloss and gloss are the toughest and easiest to clean, but they highlight every imperfection, so the surface beneath needs to be very smooth.
Matching paint to lifestyle
A guest room nightstand will rarely face abuse, so a chalk-style paint with a wax finish is perfectly fine. A kitchen table or kids’ desk is a different story. These surfaces need a tougher paint, ideally a water-based enamel or a high-quality acrylic with a durable clear topcoat. If you are not sure where to start, our roundup of the best paint for furniture breaks down the top performers by project type.
Picking a color you will still love
Color is where painting gets personal, and it is also where hesitation creeps in. A few guidelines make the decision easier. Look at the room where the piece will live and pull a shade from something already there, such as a rug, a cushion, or artwork. Neutral tones like warm white, greige, and soft sage blend into almost any space and rarely feel dated. If you want a statement, deep navy, forest green, or a rich terracotta can turn a plain dresser into the focal point of a room. Always test your color on a scrap board or a hidden area and look at it in morning light and evening light, because the same paint can look dramatically different across the day.
It also helps to think about what will surround the piece. A bold color works best when the walls and bedding are calm, while a soft color gives you freedom to layer in pattern and texture elsewhere. If you are painting a set, such as two matching nightstands, buy enough paint from the same batch to finish both at once so the shade stays consistent.
Compare popular furniture paints, from chalk-style to durable enamel.
Shop Furniture Paints4. Step 1: Set Up Your Workspace and Remove the Hardware
Start by choosing where you will work. A garage, covered porch, or well-ventilated spare room is ideal. You want good light, steady airflow, and a space where the piece can sit undisturbed for several days. Lay down a drop cloth that extends well beyond the furniture, because sanding dust and paint splatter travel farther than you expect. If you are painting indoors, open a window and consider running a fan that exhausts air outward rather than blowing across the wet surface.
Next, take the piece apart as far as is practical. Remove drawers, doors, shelves, and every piece of hardware. Painting around knobs and hinges leads to messy edges and a clearly amateur result. As you remove each screw, drop it into a small zip bag and label the bag with where it came from, such as “top left drawer pulls.” A quick phone photo of the piece before disassembly is also a lifesaver when it is time to put things back together.
Remove every knob and pull, then bag and label them by location.
Protect what should not be painted
Some parts of a piece are best left unpainted, such as the interior of drawer boxes, the sliding edges of drawers, and any felt or leather inserts. Cover these with painter’s tape and, if needed, a strip of paper. If your drawer slides are metal, remove them entirely or tape them carefully so paint does not gum up the mechanism. Taking a few extra minutes here will save you from drawers that stick and scrape for years.
Keep your screws organized and your floors protected.
Shop Drop Cloths and Tape5. Step 2: Clean and Degrease Every Surface
This is the step beginners are most tempted to skip, and it is the one that causes the most failures. Furniture accumulates a surprising amount of invisible grime. Hand oils darken the edges of drawers. Furniture polish and wax leave a slick film. Kitchen pieces collect cooking grease. Paint cannot grip any of this, and even if it appears to stick at first, it will peel in sheets later.
Mix a degreasing cleaner according to the label directions and scrub the entire piece using a non-scratch sponge. Pay extra attention to edges, drawer fronts, table legs, and any area people touch often. Rinse with a clean, damp cloth to remove cleaner residue, then dry the surface thoroughly with a lint-free towel. If the piece smells musty, a mix of warm water and a little white vinegar helps, but allow plenty of time for the wood to dry fully afterward.
Cleaning removes the invisible film that makes paint peel.
Do not rush the drying stage. Moisture trapped in the wood can cause bubbling and poor adhesion. On humid days, give the piece several hours or even overnight. When it is fully dry, run your hand across the surface. It should feel clean and slightly rough, never slick. For deeper cleaning tips on solid wood, we cover several approaches in our full wood furniture cleaning guide.
Find a strong degreaser that cuts through years of build-up.
Shop Degreasers6. Step 3: Repair Damage and Sand the Surface
With the piece clean and dry, it is time to look at it critically. Run your fingertips over every surface and note anything that catches: chips, gouges, cracked veneer, wobbly joints, and old nail holes. Paint will not hide these problems; in fact, a smooth finish tends to highlight them. Fix each issue now.
Filling dents and holes
Press wood filler into damage using a putty knife, slightly overfilling it so you can sand it flush. Wait for it to dry according to the product instructions, since deeper repairs may take several hours. For old hardware holes you do not plan to reuse, fill them in the same way. If you are changing from a two-hole pull to a single knob, this is the moment to plug the extra holes.
Sanding for adhesion and smoothness
Sanding serves two purposes. It levels repairs and rough spots, and it creates microscopic scratches that give primer something to hold. You do not need to strip the old finish completely unless it is flaking, thick, or bubbled. Using 120 grit sandpaper, scuff the entire surface until the shine is gone, then follow with 180 to 220 grit for a smoother feel. Always sand with the grain on wood to avoid visible scratches that can telegraph through your paint.
Overfill repairs slightly, then sand level with the surrounding wood.
Do not skip the dust
When you finish sanding, vacuum the piece and wipe it down with a tack cloth or a slightly damp microfiber rag. Dust is the quiet saboteur of smooth finishes. Even a fine layer will turn into tiny bumps under the paint. If you are working on an IKEA or laminate piece, sanding rules change a little; our dedicated tutorial on how to paint IKEA furniture covers the specific steps for slick, factory-coated surfaces.
Pick up wood filler and a variety pack of sanding grits.
Shop Filler and Sandpaper7. Step 4: Prime the Piece
Primer is the unsung hero of every long-lasting painted finish. It bonds to the sanded surface, blocks stains from bleeding through, and gives your topcoat a uniform base so the color looks even. Skipping it might save an hour today, but it often costs a weekend of redoing the project later.
Which primer should you use?
| Primer Type | Use It When | Notes |
|---|---|---|
| Bonding primer | Painting over glossy, laminate, or previously finished surfaces | Grips slick surfaces; excellent for flat-pack furniture |
| Stain-blocking primer | Painting over oak, mahogany, knots, or water stains | Prevents tannins and dark stains from bleeding through light paint |
| Water-based primer | General, low-odor projects indoors | Easy cleanup and quick drying |
| Shellac-based primer | Severe stains, smoke, or odor | Strong fumes; ventilate well |
Apply primer in a thin, even layer. Use your angled brush for corners, edges, and detailed areas, then follow with a foam roller across flat surfaces. Work in the direction of the grain and avoid heavy loading of the brush, because thick primer drips and dries unevenly. Most primers dry to the touch in under an hour, but check the can for the recommended wait before sanding or painting.
Primer seals knots and stains and gives paint something to grip.
Choose a bonding or stain-blocking primer matched to your piece.
Shop Furniture Primers8. Step 5: Apply the First Coat of Paint
Now comes the part you have been waiting for. Stir your paint thoroughly, scraping the bottom of the can, because pigments settle during storage. Do not shake the can, which introduces bubbles that show up as tiny craters on the finished surface. If the paint seems very thick, add a small amount of water or the recommended conditioner, but only if the manufacturer says it is safe.
Begin with the hardest-to-reach areas, such as inside corners, edges, and detailed trim, using your angled brush. Then work across larger flat areas with a foam roller or the brush. The golden rule is thin coats. It is far better to apply two or three light layers than one heavy one. Thick paint sags, pools in corners, and takes forever to cure. If you see a drip forming, stop and smooth it right away, because once the paint starts to set, fixing it means sanding.
Light, even strokes along the grain beat one thick coat every time.
Tips for a smooth application
- Maintain a wet edge: Overlap each stroke slightly into the previous one before it dries, so you avoid visible lap marks.
- Load the brush lightly: Dip only the first third of the bristles and tap off excess on the side of the can.
- Avoid overworking: Once paint begins to tack, leave it alone. Going back over a drying surface leaves streaks.
- Watch the temperature: Most paints work best between about 60 and 80 degrees Fahrenheit with moderate humidity.
Brush, roller, or sprayer?
Each tool has a place. A brush offers the most control and is the best choice for edges, carved details, and small pieces. A foam roller lays down paint quickly and leaves a smooth, almost sprayed texture on flat panels such as tabletops and drawer fronts. A sprayer delivers the most professional result, particularly on chairs with spindles, but it demands careful masking, good ventilation, and practice. Many experienced painters combine tools, using a brush to cut in the edges and a roller to finish the large surfaces while the paint is still wet. Whichever you use, keep your pace steady and avoid stopping in the middle of a large panel, since the paint begins to set faster than you might expect.
Do not be alarmed if the first coat looks patchy or uneven. This is normal, particularly when you are covering a dark color with a light one. Coverage builds with each layer. Let the paint dry fully according to the label before moving on, even if the surface feels dry to the touch.
A high-quality angled brush makes edges cleaner and strokes smoother.
Shop Paint Brushes9. Step 6: Sand Lightly and Apply the Second Coat
Once the first coat has dried completely, run your hand over the surface. You will probably feel small bumps, dust nibs, or raised grain. This is entirely normal, and this is where a quick sanding pass pays off. Using 220 or finer sandpaper, lightly sand the entire piece with very little pressure. You are not removing paint; you are knocking down tiny imperfections so the next coat lays down as smooth as glass. Wipe away every bit of dust before continuing.
Apply the second coat the same way you did the first, with thin, even strokes. Most pieces need two coats for solid coverage. Darker or highly saturated colors, and projects that started with stained or dark wood, may need a third. Always let each coat dry fully between applications. Rushing this stage is the single most common cause of tacky, sticky paint that never seems to cure.
Thin layers with a light sand between them create a durable, even finish.
How long should you wait?
Paint labels list a “dry to touch” time and a “recoat” time. They are not the same thing, and the second one is the number that matters. Humid weather, cool temperatures, and thick application all slow drying. If you are unsure, wait longer. A good test is to press a fingernail gently into an inconspicuous spot. If it leaves a dent, give it more time.
Signs Coat One Is Ready
- Feels dry and smooth, not cool or tacky
- No fingerprint left when touched
- Passes the recoat time on the label
Signs You Should Wait
- Surface feels cool or slightly sticky
- Sandpaper gums up with paint
- Humid or cold room conditions
Fine-grit sanding sponges are perfect for smoothing between coats.
Shop Sanding Sponges10. Step 7: Seal, Cure, and Reassemble
Paint on its own looks lovely but wears down quickly on furniture people actually use. A clear protective topcoat shields the finish from scuffs, moisture, and everyday abuse. It is the final layer between your hard work and the real world, so it is worth choosing carefully.
| Topcoat | Protection | Appearance | Best For |
|---|---|---|---|
| Water-based polyurethane | Excellent | Clear, available in matte to gloss | Tabletops, desks, high-touch pieces |
| Wax (paste) | Light to moderate | Soft, hand-rubbed glow | Decorative pieces and bedroom furniture |
| Water-based furniture sealer | Good | Natural, low sheen | General use, easy application |
| Hemp or tung-style oil | Moderate | Warm, rich | Specific chalk-style finishes |
Apply your topcoat in thin layers, following the product directions. Water-based polyurethane typically goes on in two or three coats with a light sanding in between, using very fine paper. Use a clean brush or a foam applicator, and avoid shaking the can. If you choose wax, work it in with a soft cloth or wax brush in small circles, then buff to the sheen you like.
Dry is not the same as cured. Treat the piece gently while it hardens.
Curing versus drying
This is where many people make a painful mistake. A piece can feel dry within hours but take weeks to reach its full hardness. During this window, avoid placing heavy items, dragging objects across the surface, or cleaning with anything harsher than a dry microfiber cloth. Be especially gentle with tabletops and drawer fronts.
Reassembling with care
When the piece has cured enough for light handling, reinstall your hardware. This is a great time to swap in new knobs or pulls, which can transform the whole look at very little cost. Place felt pads under the feet of tables and chairs, and if the piece will sit on hardwood, a set of quality furniture sliders for hardwood floors prevents scratches when you move it later. Once everything is back in place and cured, a periodic dusting and an occasional gentle wipe is all it takes. You can browse the best furniture polish options if you use wax or want to refresh an oiled finish over time, but read the label first, as many polishes are not suitable for painted surfaces.
Caring for your finished piece
A well-sealed painted piece is easy to live with. Dust it weekly with a soft cloth and wipe up spills promptly. Use coasters under drinks and placemats under hot dishes, even on a durable topcoat, because heat and moisture are the quickest ways to damage any finish. If you notice a chip or scratch down the road, you can usually touch it up with a small amount of the original paint and a little topcoat, which is why saving the leftover paint in a clearly labeled, tightly sealed container is always worth the shelf space. Keep a small note on the can with the color name, sheen, and date you painted so a future repair is a matter of minutes rather than guesswork.
Protect your finish with a durable water-based polyurethane.
Shop Furniture Sealers11. Special Surfaces and Distressed Looks
Not every project is a smooth, solid-wood dresser. Different materials need different strategies, and some styles require extra techniques. Here is how to handle the most common situations.
Laminate and melamine
These slick, plastic-like surfaces are common on flat-pack furniture. The trick is a thorough scuff sanding with 150 to 180 grit paper followed by a high-quality bonding primer. Skip either and your paint will peel at the first scratch. Take it slow, use thin coats, and let everything cure longer than you think necessary.
Veneer
Veneer is a very thin layer of real wood glued over a cheaper core. It paints beautifully, but you must sand with a light touch so you do not sand through it. If you see bubbling or lifting, glue and clamp those areas before you paint. Use a fine grit and check your progress often.
Metal and wicker
Metal furniture needs rust removed with a wire brush or coarse sandpaper, then a rust-inhibiting primer. Spray paint is a great option for intricate shapes, such as wrought-iron chairs or wicker pieces, because it gets into nooks that brushes cannot reach. Apply many light passes rather than a heavy one.
Outdoor furniture
Outdoor pieces face sun, rain, and temperature swings. Choose a paint labeled for exterior use and finish with an exterior-grade topcoat. Expect to refresh the finish periodically, and store pieces under cover during harsh weather when you can.
Creating a distressed finish
The charming, aged look of farmhouse and cottage styles is easy to achieve. After your final paint coat has dried but before sealing, use fine sandpaper to gently rub areas that would naturally wear over time: edges, corners, raised details, and around handles. This reveals bits of the layer underneath. A contrasting base coat, such as a darker color under a lighter one, makes the effect more dramatic. Clean away the dust, then seal the piece to lock in the look.
Wear the places time would naturally wear, and stop before it looks overdone.
Finishing touches that elevate the result
Once the paint is done, small upgrades make the biggest difference. New hardware is the easiest way to change the character of a piece, with brushed brass pulls adding warmth and matte black giving a modern edge. Lining the inside of drawers with patterned paper or a fresh coat of a contrasting color creates a delightful surprise every time someone opens them. You can also add stenciled patterns, two-tone effects where the legs or frame use a different color from the body, or a stained top paired with painted legs for a classic farmhouse feel. Just remember that every added element needs its own proper prep and curing time.
Explore specialty primers and paints for laminate, metal, and outdoor pieces.
Shop Laminate and Specialty Paints12. Common Mistakes and Quick Fixes
Even careful painters run into trouble now and then. The good news is that almost every problem has a straightforward fix. Here are the issues that come up most often and what to do about each one.
| Problem | Likely Cause | How to Fix It |
|---|---|---|
| Visible brush marks | Overworking the paint or using a cheap brush | Let dry, sand with 220 grit, and apply a thin coat with a quality brush or foam roller |
| Peeling or flaking paint | Poor cleaning or no primer | Scrape loose areas, sand edges, clean thoroughly, prime, and repaint |
| Dark stains bleeding through | No stain-blocking primer | Apply a stain-blocking primer over the area, then repaint |
| Drips and sags | Paint applied too thickly | Let fully dry, sand smooth, and recoat lightly |
| Sticky or tacky finish | Not enough dry time, humidity, thick layers | Improve airflow, wait longer, and avoid additional coats until firm |
| Bubbles or craters | Shaking the can or applying over damp surface | Sand smooth and repaint after proper stirring |
| Drawers sticking | Paint on slides or edges, humidity swelling | Lightly sand the contact edges and apply paraffin wax |
Mistakes that are easy to avoid
- Rushing the prep: Cleaning and sanding feel tedious, but they decide how well everything else performs.
- Painting in poor conditions: Extreme heat, cold, or humidity can ruin an otherwise good job.
- Using too much paint: Thin coats are your friend.
- Skipping the topcoat: Unsealed paint on a frequently used piece will wear fast.
- Using the piece too soon: Patience during curing saves you from dents and fingerprints.
Keep touch-up supplies on hand for the occasional repair.
Shop Touch-Up KitsConclusion
Learning how to paint furniture is one of the most rewarding skills a home DIYer can pick up. It saves money, reduces waste, and gives you a piece that reflects your own taste rather than whatever happened to be in stock. The steps are simple, even if they take patience: set up and remove hardware, clean thoroughly, repair and sand, prime, apply thin coats of paint, sand lightly between layers, and seal the finish. Do these in order and give each stage the time it needs, and you will end up with a result that looks professional and lasts for years.
Start with something small if you are nervous, such as a side table, a stool, or a nightstand. Once you see how forgiving the process really is, you will probably find yourself eyeing every tired piece in your home. Before you know it, you will have turned a weekend project into a full room refresh. When you are ready for your next project, you will find plenty more inspiration and practical advice throughout Furniture Tales.
As a final reminder, keep the big picture in mind: clean thoroughly, sand sensibly, prime properly, paint thinly, and seal smartly. If you remember those five habits, you can adapt this process to any material, color, or style, and you will avoid nearly every mistake that sends beginners back to square one. Take a photo of the before and after, because the transformation is always more dramatic than you expect.
Ready to begin? Gather your paint, primer, and sealer and start your first project.
Shop Everything You NeedFrequently Asked Questions
1. Do I have to sand furniture before painting it?
In most cases, yes, at least a light scuff sanding. Sanding dulls the old finish and gives primer and paint something to grip. Some products, such as certain chalk and mineral paints, claim minimal prep, but cleaning and a light scuff still improve results and durability.
2. Do I need primer to paint furniture?
Primer is strongly recommended, especially over glossy finishes, laminate, bare wood, or woods that can bleed tannins like oak and mahogany. It improves adhesion, blocks stains, and gives you more even color. If you are using a paint-and-primer product on a clean, lightly sanded surface in good condition, you may be able to skip it.
3. What is the best paint to use on furniture?
It depends on how the piece will be used. Chalk-style paint is popular for a soft, vintage look, while water-based enamel and quality acrylic are better for hard-working pieces like tables and desks. Our guide to the best paint for furniture compares several options in detail.
4. How many coats of paint does furniture need?
Two thin coats are usually enough for good coverage. Dark colors, vivid shades, or projects that begin with dark stained wood may need a third. Thin layers always outperform thick ones.
5. Should I use a brush, roller, or sprayer?
A good angled brush is best for edges and details, and a high-density foam roller gives a smooth finish on flat surfaces. A paint sprayer produces an excellent factory-like result but requires more setup, masking, and ventilation, so it is best for larger projects or experienced painters.
6. How long does painted furniture take to dry and cure?
Paint may be dry to the touch within hours and ready for a second coat in several hours, but full curing can take two to four weeks depending on the product and conditions. During this time, treat the piece gently and avoid heavy use or harsh cleaning.
7. Do I need to seal painted furniture?
For anything that will be used regularly, yes. A clear topcoat protects against scratches, moisture, and stains. Low-use decorative pieces can sometimes get away with lighter protection such as wax, but a durable sealer is a safer choice for tables, dressers, and desks.
8. Can I paint over already-painted furniture?
Yes. Clean it thoroughly, scuff sand to dull the existing paint, repair any chips, and apply primer if the old paint is glossy or you are making a dramatic color change. Peeling or lead-based paint needs additional care and should be addressed before repainting.
9. How do I paint laminate or IKEA furniture so it does not peel?
Scuff the surface well, use a bonding primer designed for slick surfaces, and apply thin coats of paint with plenty of dry time. Our step-by-step tutorial on how to paint IKEA furniture walks through the process in detail.
10. How do I avoid brush strokes?
Use a quality brush or foam roller, apply thin coats, brush along the grain, and avoid going back over paint that has started to dry. Light sanding between coats also smooths out any minor texture. Some paints include a conditioner that improves leveling.
11. Is it okay to paint furniture indoors?
Yes, with proper ventilation. Choose low-odor, water-based products, open windows, use a fan to pull air outward, and wear a mask while sanding. Protect floors with a drop cloth, and keep pets and children out of the workspace while the paint dries.
12. How do I clean painted furniture afterward?
Dust regularly with a soft microfiber cloth and wipe up spills quickly with a barely damp cloth and mild soap. Avoid abrasive cleaners and wait for the finish to fully cure before any deeper cleaning. Check labels before using any polish, since not all are formulated for painted surfaces.
You May Also Like
Keep exploring with these practical guides from Furniture Tales: